 Welcome to Simple Living Saturdays, where we are all seeking to encourage one another in purposefully simplicity for the glory of God! Today of which I am honored to host this carnival for the second time due to Stephanie @ Keeper of the Home’s absence. Next Saturday it will be back over at her blog!
I was deliberating delaying in completing my tomato canning process due to the long and tiring day of canning my cousin and I had last week! We had six lugs of tomatoes to can (somewhere around 150 pounds) and it took us all day to just do half the job! Amidst the peeling, dicing, and canning, we had a tomato get kindly speared all over the carpet and a pile of dark dirt get drug in by the munchkins from my container garden on the back deck! Very lively indeed! We still had a great time of fellowship, but I was on a quest to find a simpler method to make this process easier and less time consuming…
Peaches
Do you really have to peel the peaches? I found they actually come off quite naturally in their jars after processing them in the water bath canner. Most of the peels just slip to the bottom of the jar after opening. Cooking the peaches prior to canning also seems to be quite unnecessary. I sliced them, and put them immediately into the jars and then poured my syrup mixture over them to fill the jar. (using a little honey and water). I followed these instructions and just skipped step 6 (peeling) & 9 (cooking) and used honey to sweeten (approx. 3/4 cup honey in replacement for each cup of sugar in the recipe).
Pears
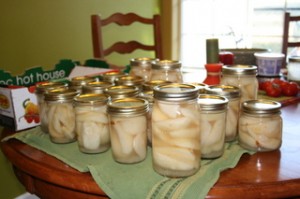
I did peel my pears with a regular peeler (due to the harder peel) but rather than cooking them in their syrup, I simply peeled and packed them right away in their jars. I filled the remainder of the jar with the same mixture that I used with the peaches (3/4 cup honey in replacement of each cup of water and hot water). I followed these instructions and skipped step 8.
Tomatoes
After doing some searching, I discovered two simple methods that work for simplifying tomatoes.
1) Simply freeze whole tomatoes in Ziploc bags! When you thaw them the peel will slide right off. You will preserve more of the nutrients by freezing. You can then toss them in the blender or food processor and make your sauce. Great if you have the freezer space.
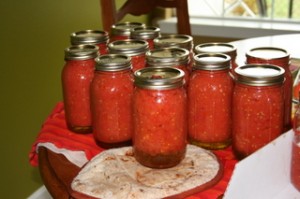
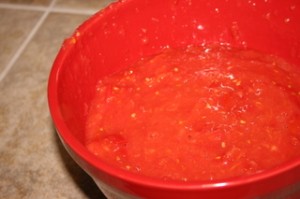
2) Cut your tomatoes (with the skins on and all!) into quarters (depending on their shape) and place in a blender or food processor. You can keep the core and everything (besides the tops) as desired. Blend till you get a chunky tomato sauce (about 5-10 sec)! Place in your jars and process. No additional heating is necessary.
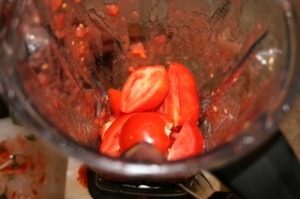
Since my freezers are overflowing (Praise the Lord!), I chose the second option. I had a batch of tomato sauce in the blender in a matter of seconds (thanks to my mom’s blender – mine is still out of commission -boo hoo!). Wow! I completed my dreaded canning process this way in less than 2 hours (for the remaining 1 1/2 lugs that I had on hand – approx. 35 lbs)! It was so awesome I had to share it with you!
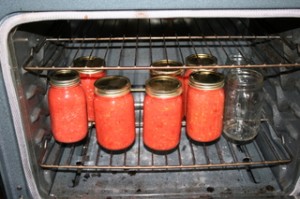
I use the oven to keep my jars warm. As I am preparing the next batch for the canner, I keep filling jars and keeping them warm in the oven.
Thank the Lord for granting me the grace to simplify the process, especially while juggling a little toddler and being pregnant at the same time! Canning can get very time consuming, and draining, but it can also save you a lot of money, thus I thought I would take the plunge!
__________________________________________________________________________________________________
Living Simply Saturdays are an opportunity to share what is bringing more simplicity and purposefulness to your own life, and to glean from the lives of others.
To join in, post your contribution on your blog, then come back here and add your link below. Please make sure that you link to the specific post, and not to the homepage of your blog, and make sure that you include in your post a link back to this post. Thanks so much!
If you don’t have a blog, I welcome your thoughts and suggestions in the comments section!


